Crafts by the Case – How to Keep the Kids Busy When Stuck Indoors

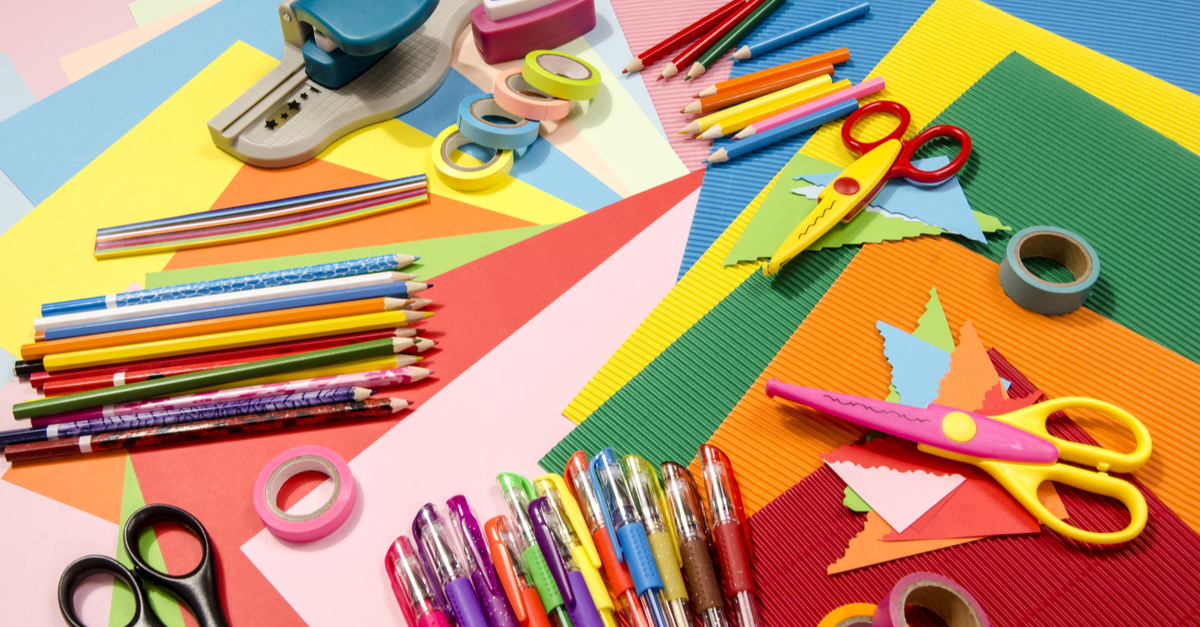
Rainy days are never fun, especially for kids. When kids are stuck inside, it can be hard to find ways to entertain them. Arts and crafts are a fantastic way to keep your kids busy. DollarDays can help make sure you’re prepared with all the bulk craft supplies you may need.

Bulk Crafts for Everyone

At DollarDays we strive to help nonprofits, educators, and small business owners. We keep our products affordable so we can provide these organizations the supplies they need. Our bulk craft supplies are great for shelters, churches, schools, daycares and any other organization or business that involves watching children.

Crafts for Rainy Days

When it’s wet and cold outside, you often have no choice but to keep children inside. This can make them bored and restless, even more so if they’re missing out on activities like recess. You can combat boredom by engaging them with arts and crafts. DollarDays offers a wide range of arts and crafts supplies so you can always have a crafting activity ready to go.

Painting

Giving kids some paint, a brush and paper is a wonderful way to keep them busy. This will allow them to be creative, work on fine motor skills and make something they can be proud of and show off. DollarDays has a large selection of paint sets for you to choose from. Washable watercolor paint is ideal for kids of younger ages because it can easily be cleaned from clothes and tables. Acrylic paint can be given to older kids who are less likely to make a mess with it.

Sewing

Sewing is a stimulating craft activity that is sure to keep kids occupied on rainy days. We have plenty of affordable sewing kits and supplies available. This is a great crafting activity because it challenges kids and teaches them a new skill they’ll be able to use throughout their lives. If you decide sewing is a craft your kids would like, you’ll want to make sure to keep an extra close eye on them due to the use of small scissors and needles.

Cardmaking

Bad weather tends to appear during the fall and winter. With lots of rainy and snowy days, you don’t want to scramble to find ways to keep kids busy. Thankfully, fall and winter are also full of holidays such as Halloween, Thanksgiving, Christmas and Valentine’s Day. This gives you a great opportunity to introduce cardmaking as an activity. We have a wide array of bulk craft supplies that can be used in cardmaking, such as stamps, stickers and stencils.

Other Crafts

Craft time doesn’t always need to have a specific activity planned out. Another idea is a free crafting time. All you need to do is give the kids some craft supplies and let them make whatever they want. This allows them to get really creative and gives them some freedom in what might otherwise be a very structured day. It’s best to have an assortment of supplies so they can work with and explore different mediums.

Buying Bulk Craft Supplies

If you’re looking for craft supplies to keep on hand, buying in bulk is the way to go. With affordable products, DollarDays can help you prepare for any future rainy days.

DIY Friday: Unicorn Backpack

It’s always great when kids are able to express themselves and a backpack can be the perfect canvas! This easy DIY unicorn backpack back is the perfect summer camp craft! Kids will love customizing their backpacks to make it a cute and fun creation of their own.

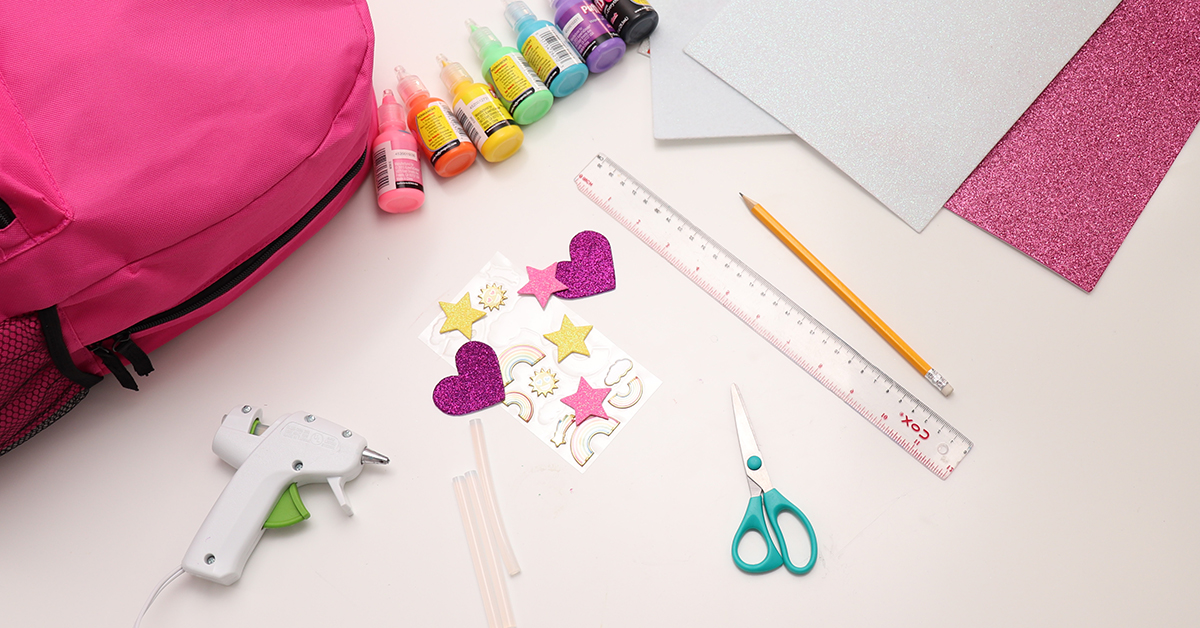
MATERIALS NEEDED:

Step 1:

Begin by gathering your materials and heating your glue gun. Next, on the bottom left corner of the white felt/foam sheet make a mark with your pencil at 2.5”. (If you’re using a glittery foam/felt sheet, be sure to mark the backside so the pencil marking won’t show.)

Step 2:

Use this as a mark to draw out your first ear and carefully cut the piece out.

Step 3:

Once you have your first ear cut out, use this shape as a guide to trace around for your second ear.

Step 4:

Now it’s time to make your unicorn’s horn. The bottom of your triangle should be 3” wide. Measure 4” on one of the corners and use your ruler as a straight edge to create the trangle’s edges.

Step 5:

Use another color (we used pink) for the inner ear. This time, we’ll mark the edge at 1.5”. Repeat the process used in step 1-3 to create your inner ear pieces.

Step 6:

Glue your inner piece to the top of your outer ear piece (Glitter sides facing you, if applicable). Make sure the bottom edges of the ears are aligned.

Step 7:

Lightly draw out your unicorn’s face design on the front pocket of your backpack. Next, layout where you will glue your ears and horn and carefully glue each piece to the backpack.

Step 8:

Now it’s time to paint!

Step 9:

Allow your masterpiece to dry for 24-48 hours before moving on to the next step.

Step 10:

Glue on felt/foam cut outs to decorate your bag.

We’d love to see how yours turned out! #DollarDaysDIY for a chance to be featured on our next blog!

DIY Friday: Tie-Dye Crib Sheet

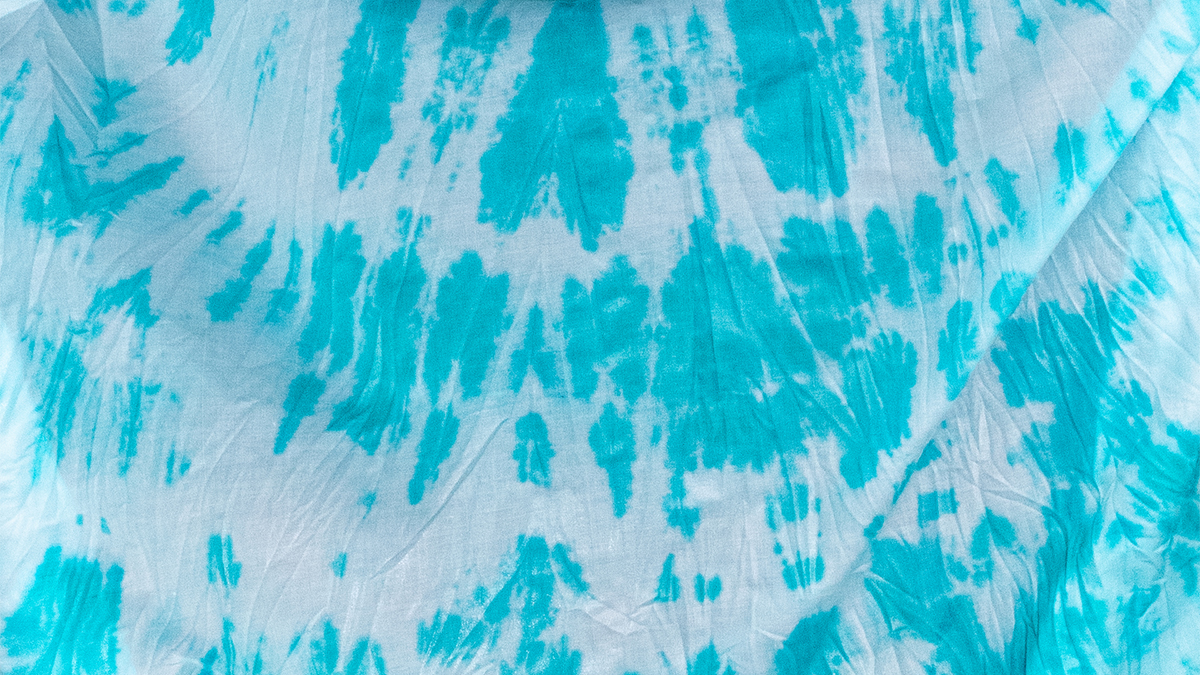
Are you looking for a way to make naptime fun? These cute, quick and easy tie-dye sheets are the perfect way to jazz up any sleeping space!

We used this tutorial to add a pop of color to a nursery, but this project would also be great for any summer camp, daycare or afterschool program.

Materials Needed:

Step 1:

Gather all of your materials and set up your workspace. We used a stainless steel sink area – whatever you choose, be sure that it’s a place where you can make a mess! Other places may include a bathtub, outside on the grass or a craft area covered with overlapping garbage bags.


Step 2:

Twist your sheets and secure their position with rubber bands and metal clamps.


Step 3:

Mix your dye. We used a glass bowl filled with hot water and salt –according to the dye package instructions.


Step 4:

Carefully pour the dye into your squeeze bottle. Wear gloves to avoid staining your hands.


Step 5:

Now you’re ready to start dying! Using a squeeze bottle, gently squirt lines or a pattern onto the fabric. Be sure it’s spaced out – using rubber bands can assist with keeping the spaces even.


Step 6:

Let the dye set on the sheets according to package instructions.


Step 7:

In the meantime, fill a sink or plastic tub with water to rinse. (Some dyes may instruct you to add salt and vinegar to the rinse water in order to assist with setting the dye.) Once dye is set, rinse your sheet.


Step 8:

Once your sheet is fully rinsed, leave to hang dry or put it in the dryer.

The end result will bring a smile to any child’s face! Do you have fun craft ideas? We’d love to hear from you! Use #DollarDaysDIY for a chance to be featured on our blog!