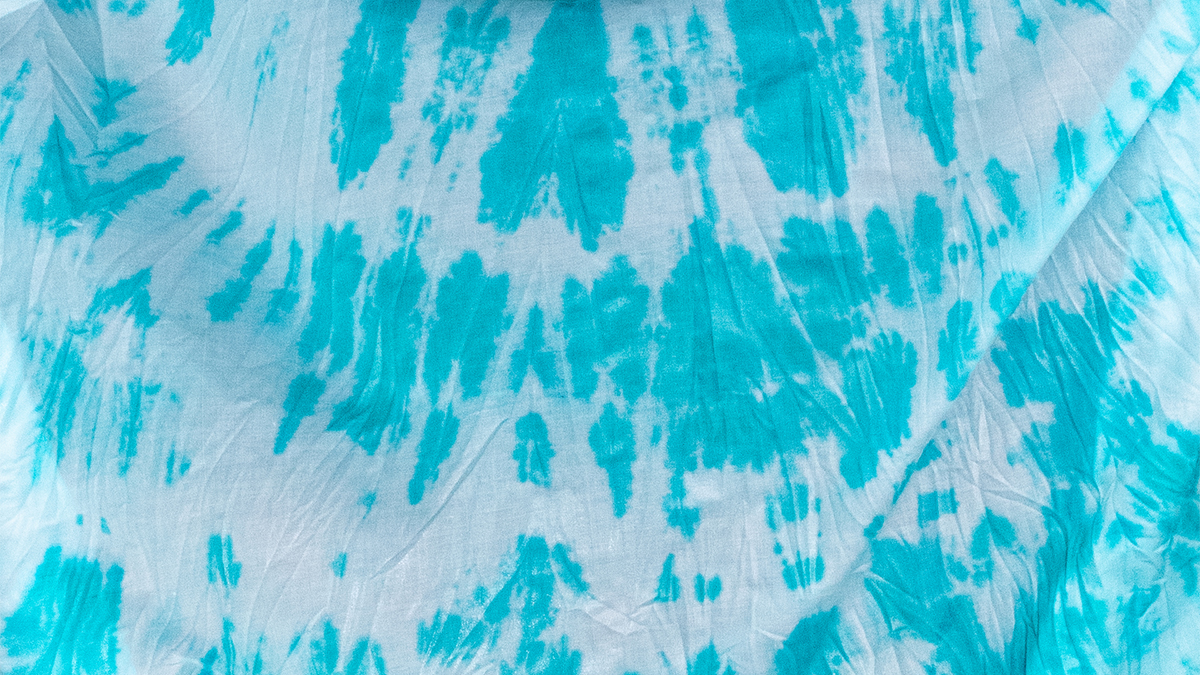
Are you looking for a way to make naptime fun? These cute, quick and easy tie-dye sheets are the perfect way to jazz up any sleeping space!
We used this tutorial to add a pop of color to a nursery, but this project would also be great for any summer camp, daycare or afterschool program.
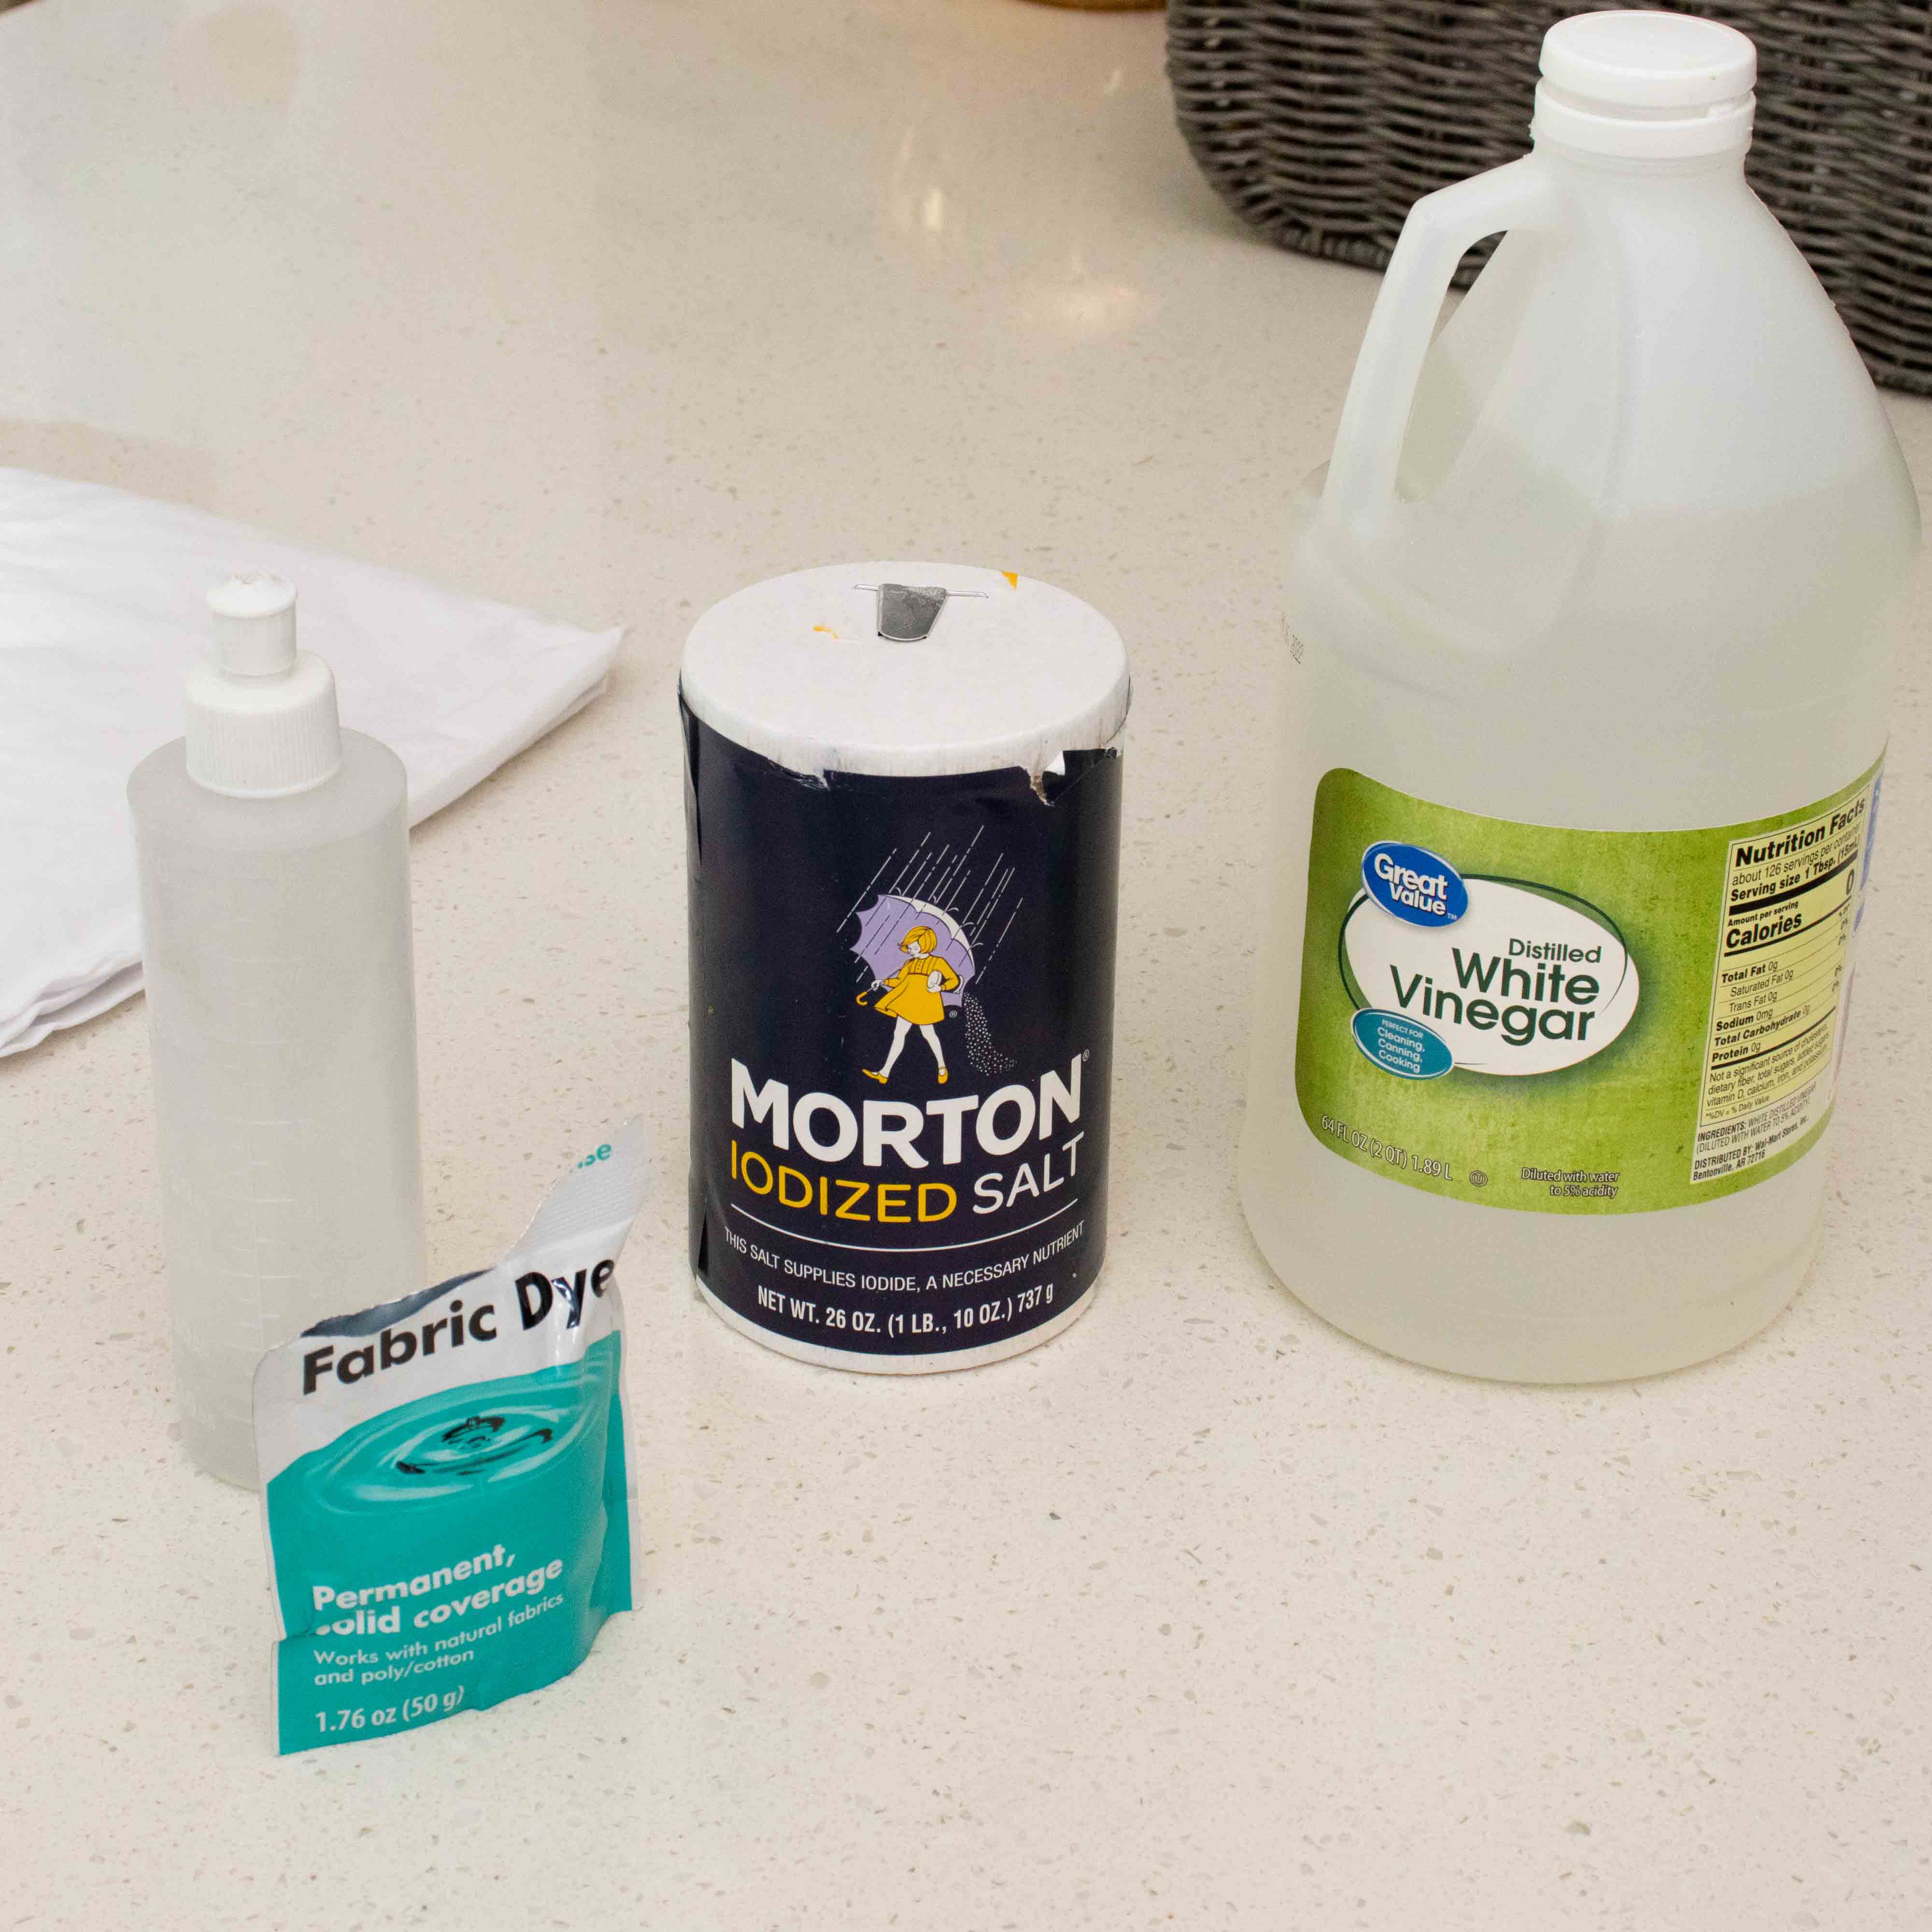
Materials Needed:
|
|
Step 1:
Gather all of your materials and set up your workspace. We used a stainless steel sink area – whatever you choose, be sure that it’s a place where you can make a mess! Other places may include a bathtub, outside on the grass or a craft area covered with overlapping garbage bags.
Step 2:
Twist your sheets and secure their position with rubber bands and metal clamps.

Step 3:
Mix your dye. We used a glass bowl filled with hot water and salt –according to the dye package instructions.


Step 4:
Carefully pour the dye into your squeeze bottle. Wear gloves to avoid staining your hands.

Step 5:
Now you’re ready to start dying! Using a squeeze bottle, gently squirt lines or a pattern onto the fabric. Be sure it’s spaced out – using rubber bands can assist with keeping the spaces even.

Step 6:
Let the dye set on the sheets according to package instructions.

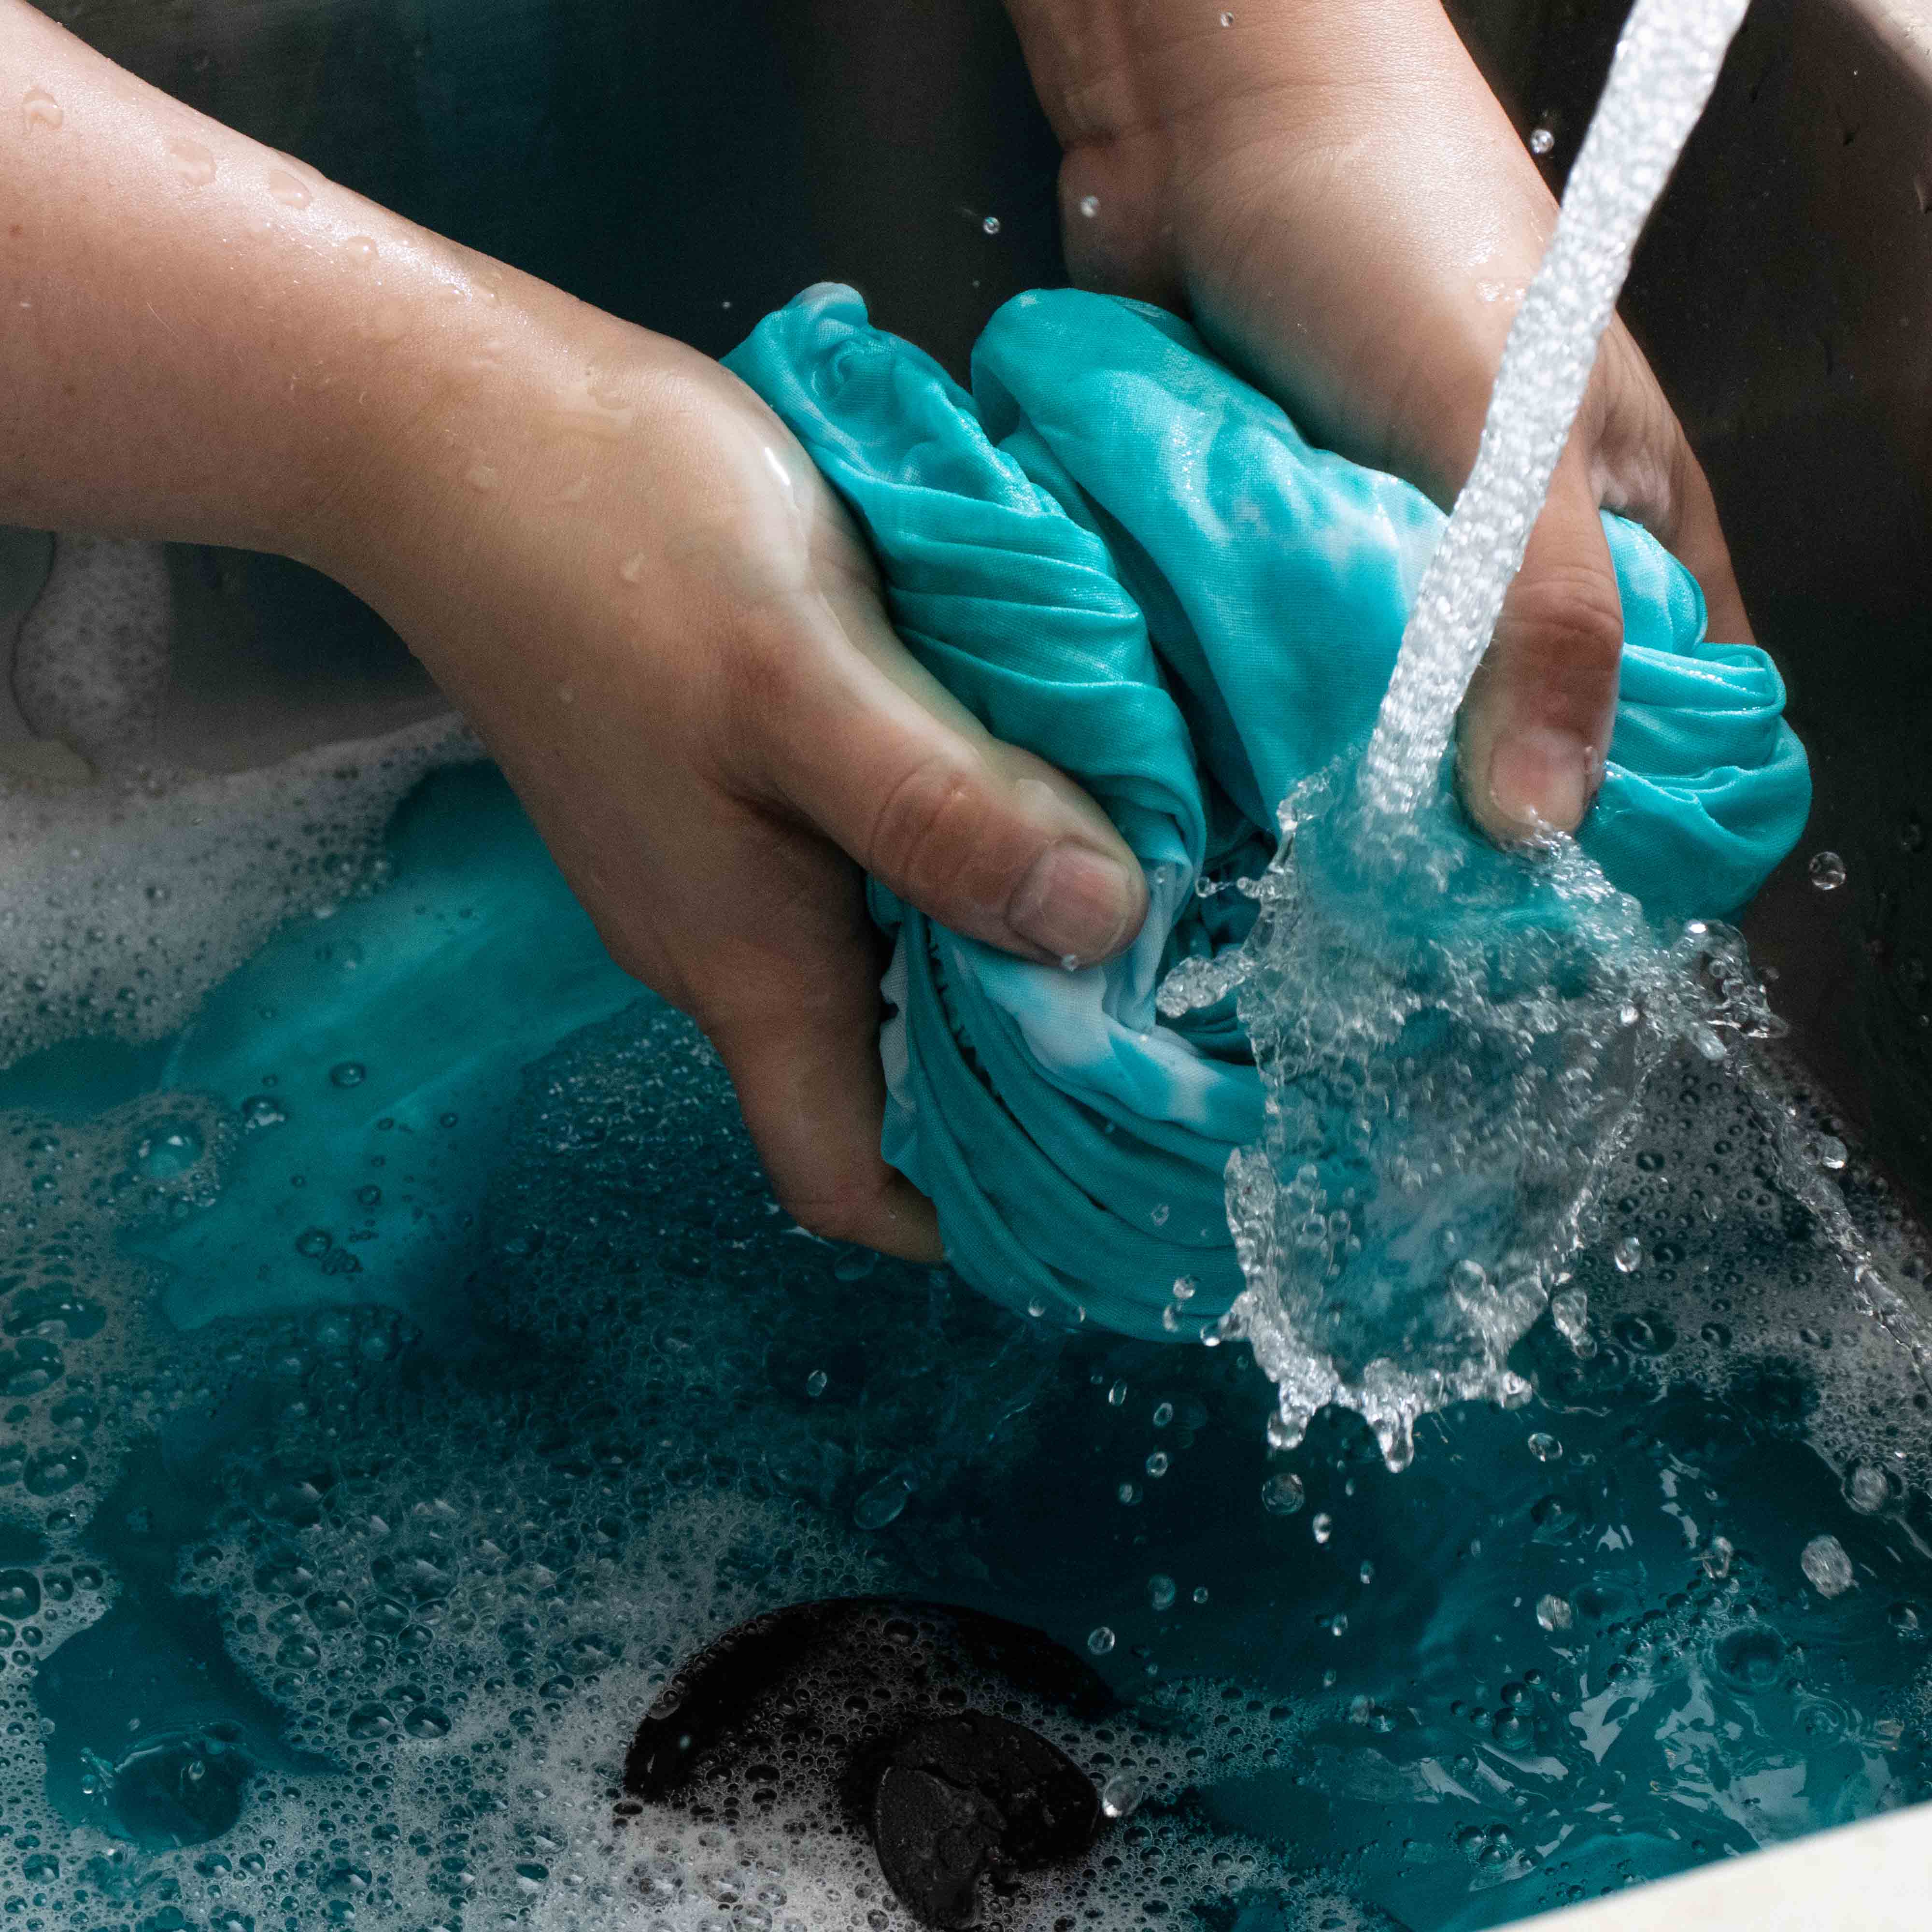
Step 7:
In the meantime, fill a sink or plastic tub with water to rinse. (Some dyes may instruct you to add salt and vinegar to the rinse water in order to assist with setting the dye.) Once dye is set, rinse your sheet.

Step 8:
Once your sheet is fully rinsed, leave to hang dry or put it in the dryer.

The end result will bring a smile to any child’s face! Do you have fun craft ideas? We’d love to hear from you! Use #DollarDaysDIY for a chance to be featured on our blog!
