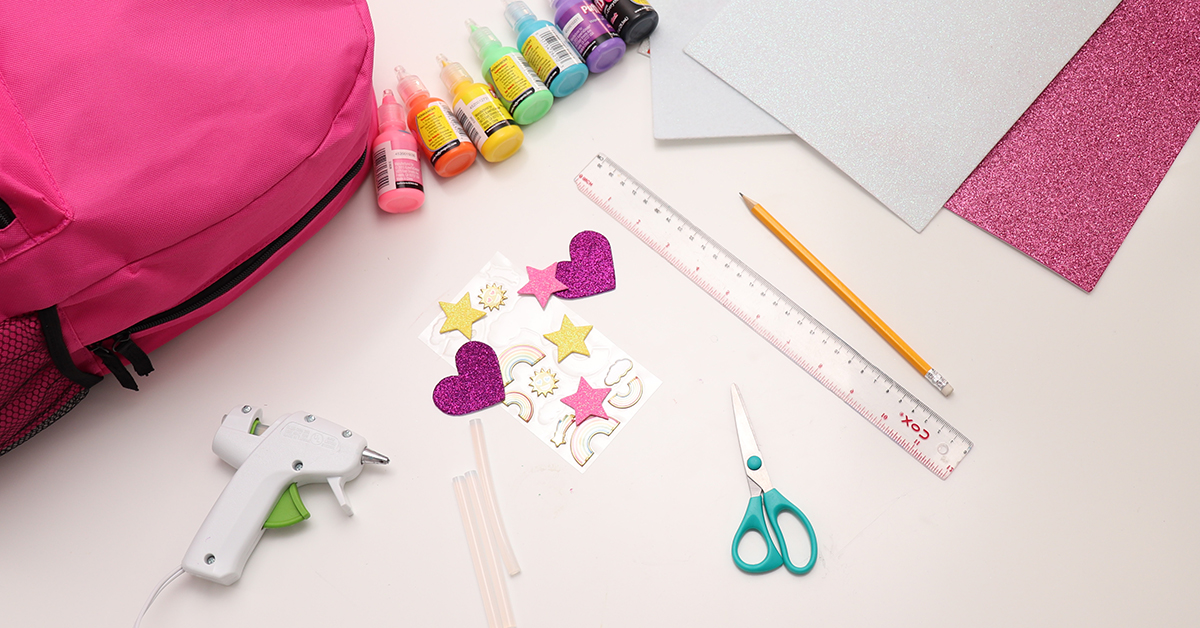
It’s always great when kids are able to express themselves and a backpack can be the perfect canvas! This easy DIY unicorn backpack back is the perfect summer camp craft! Kids will love customizing their backpacks to make it a cute and fun creation of their own.
MATERIALS NEEDED:
- 17″ Backpack
- Pencil
- Scissors
- Ruler
- Hot Glue Gun + Hot Glue Sticks
- Felt and/or Foam Sheets
- Puff Paint
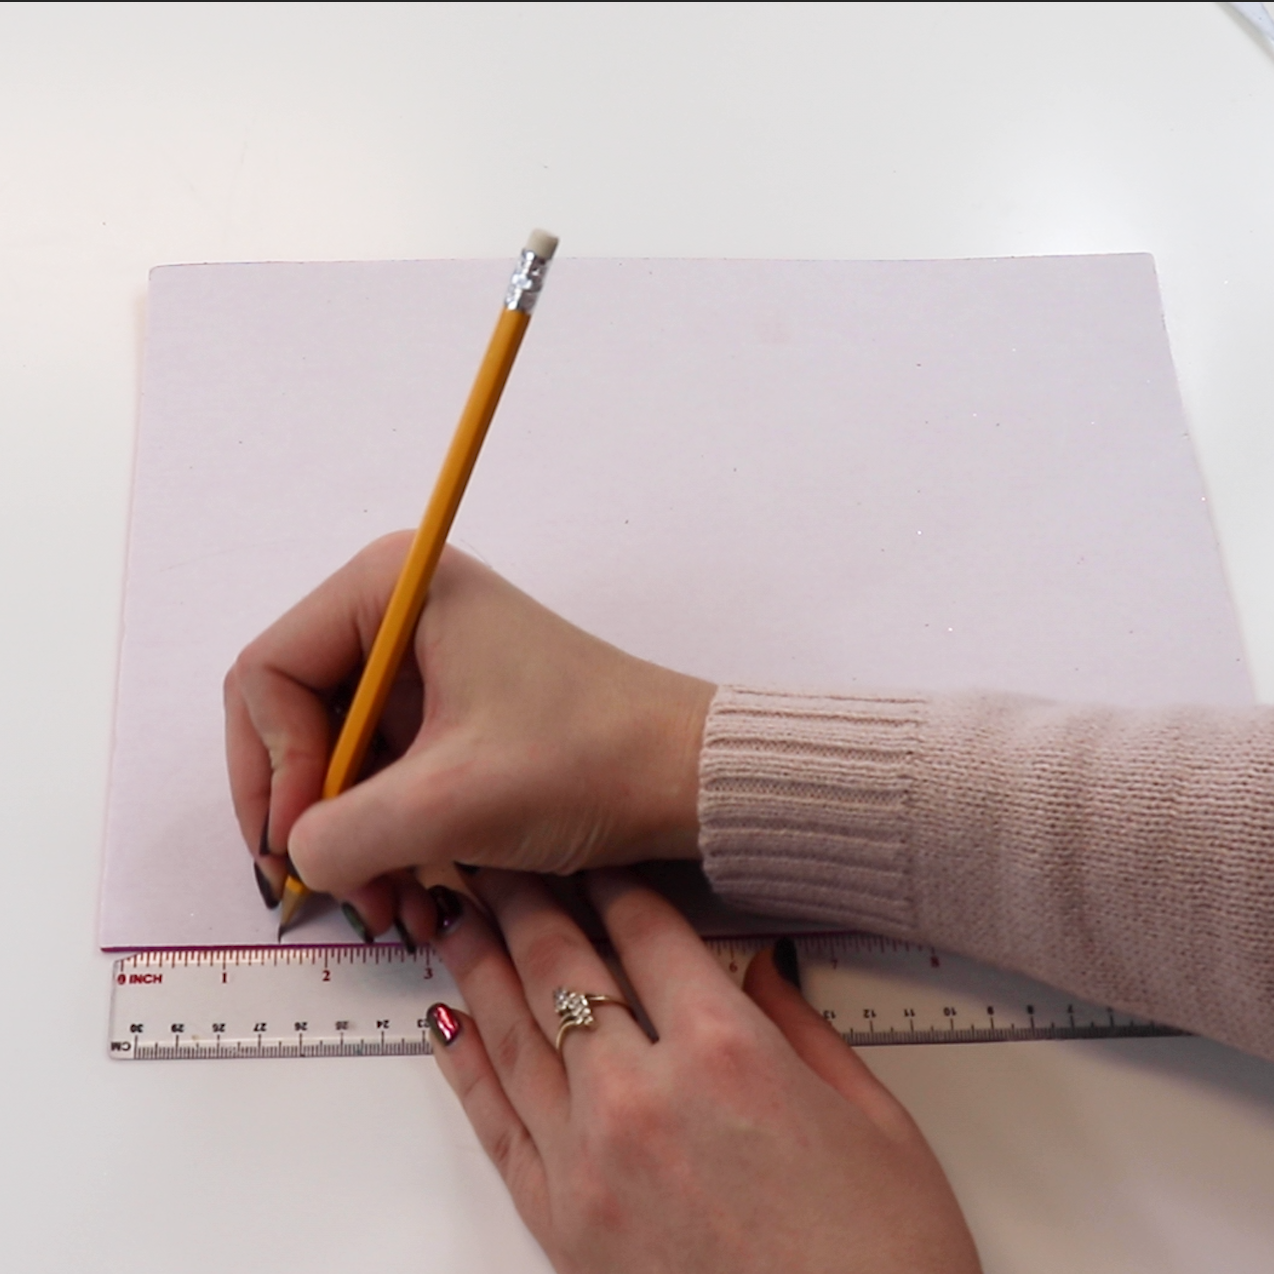
Step 1:
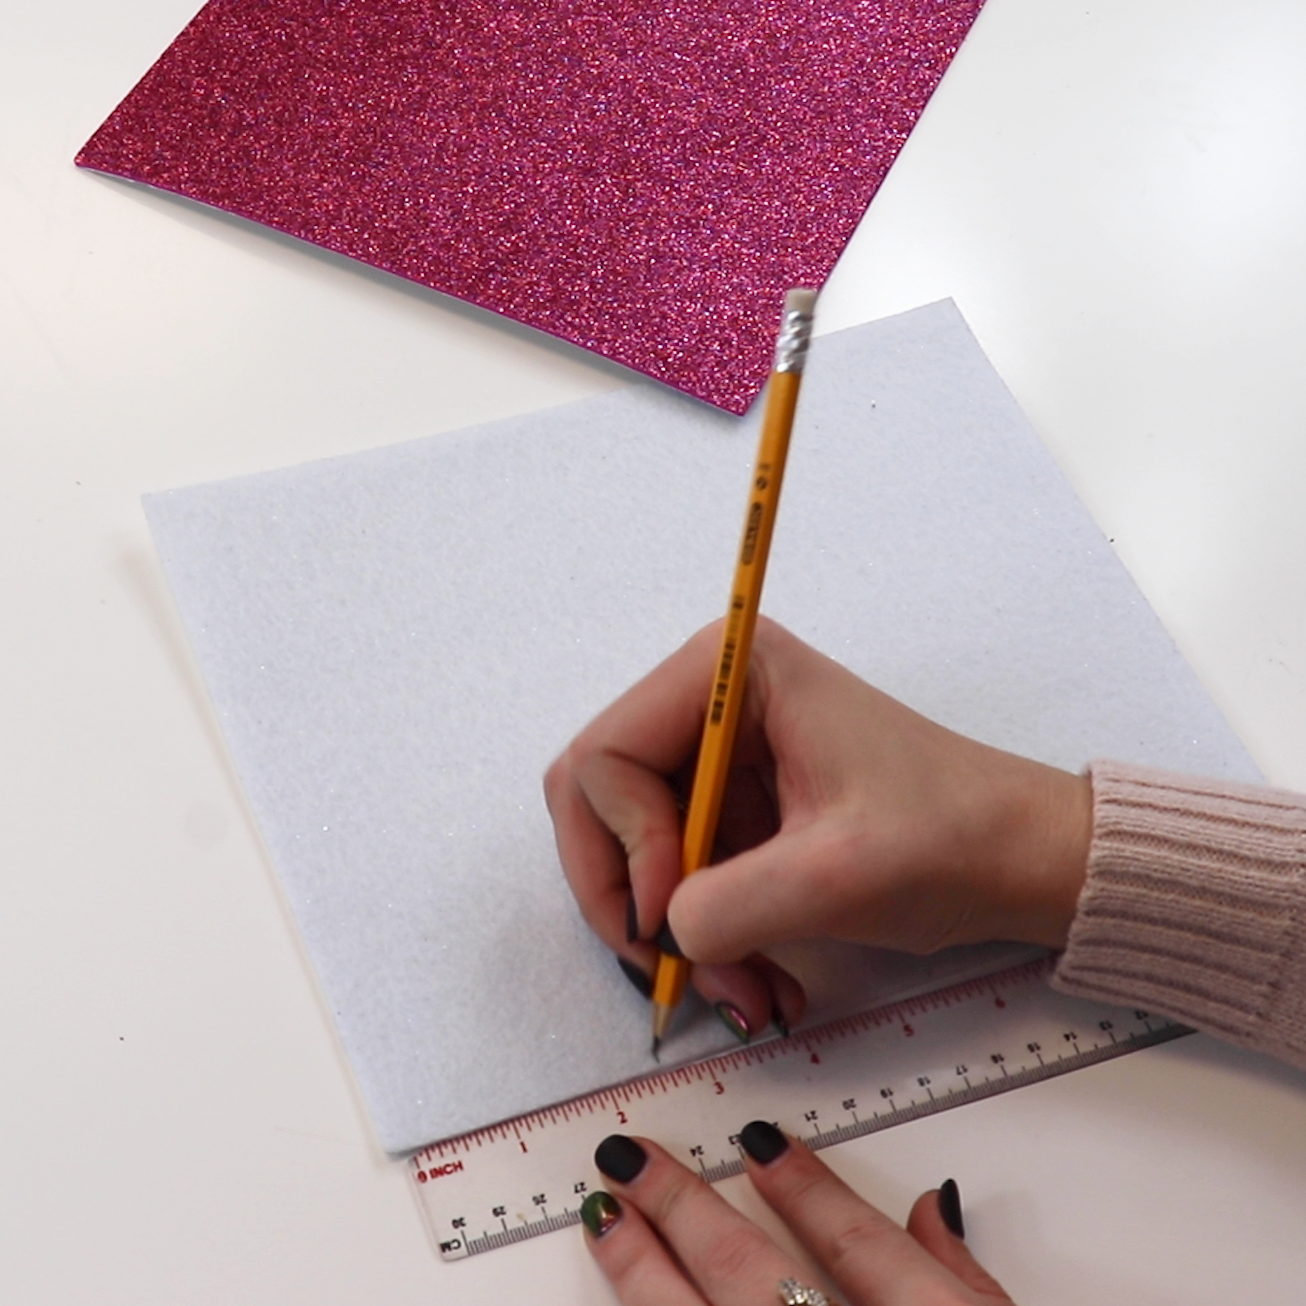
Begin by gathering your materials and heating your glue gun. Next, on the bottom left corner of the white felt/foam sheet make a mark with your pencil at 2.5”. (If you’re using a glittery foam/felt sheet, be sure to mark the backside so the pencil marking won’t show.)
Step 2:
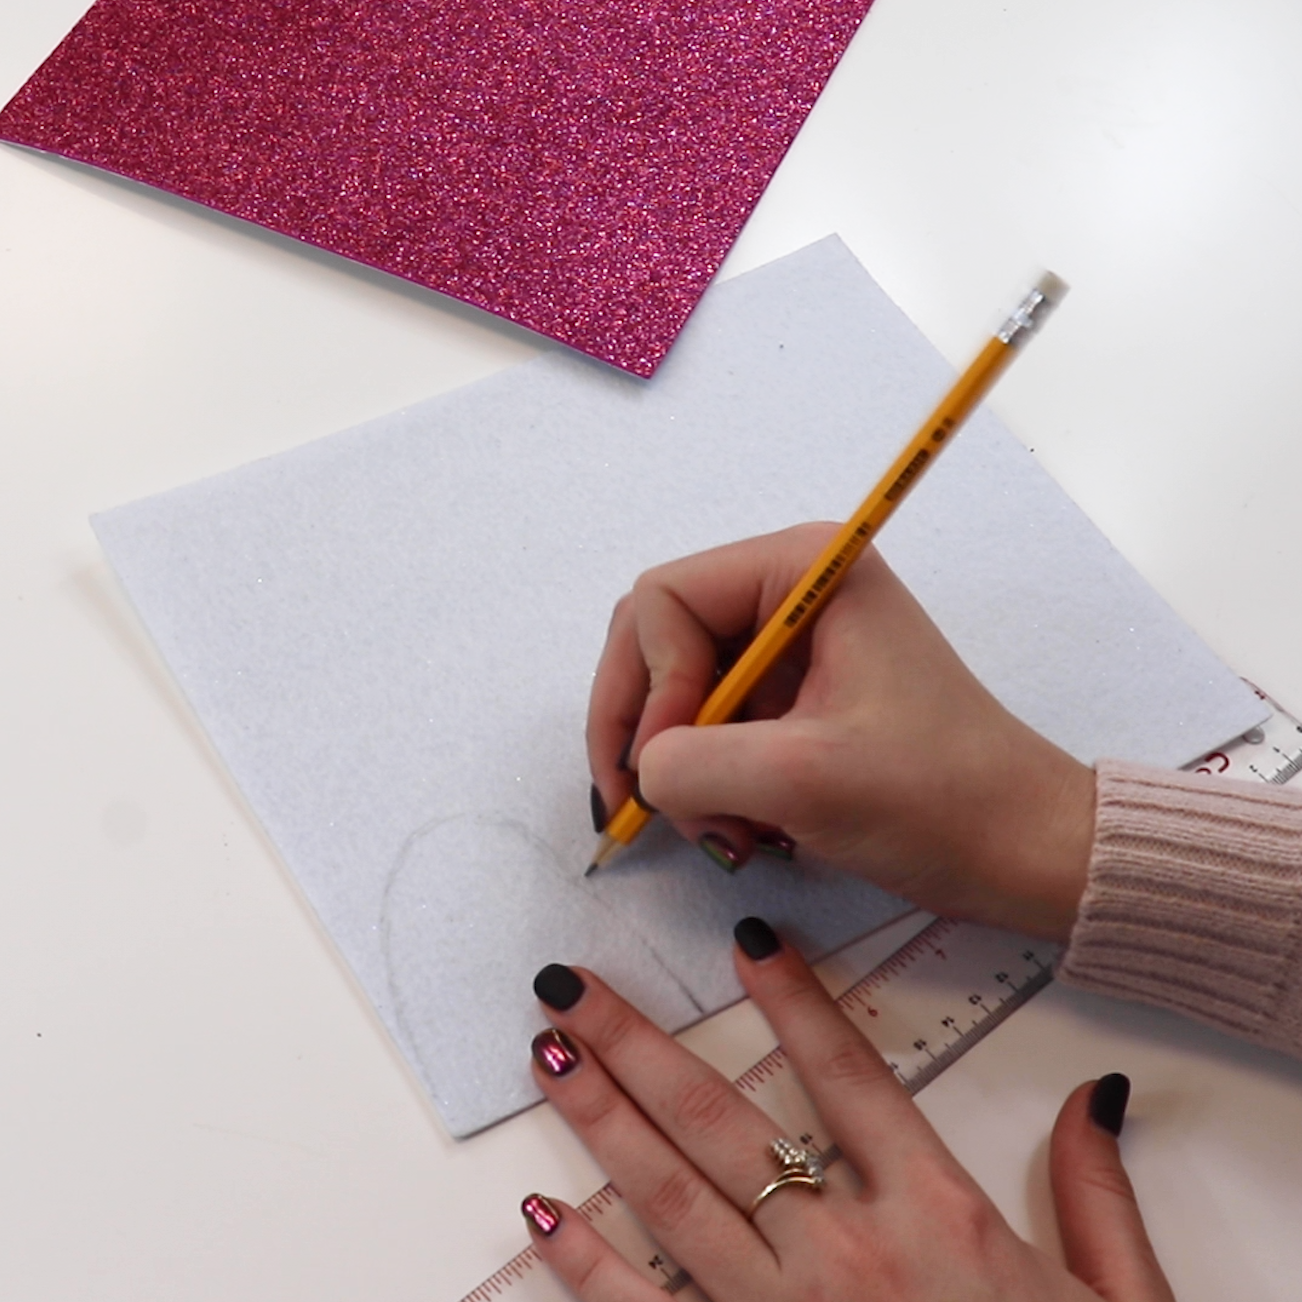
Use this as a mark to draw out your first ear and carefully cut the piece out.
Step 3:

Once you have your first ear cut out, use this shape as a guide to trace around for your second ear.
Step 4:
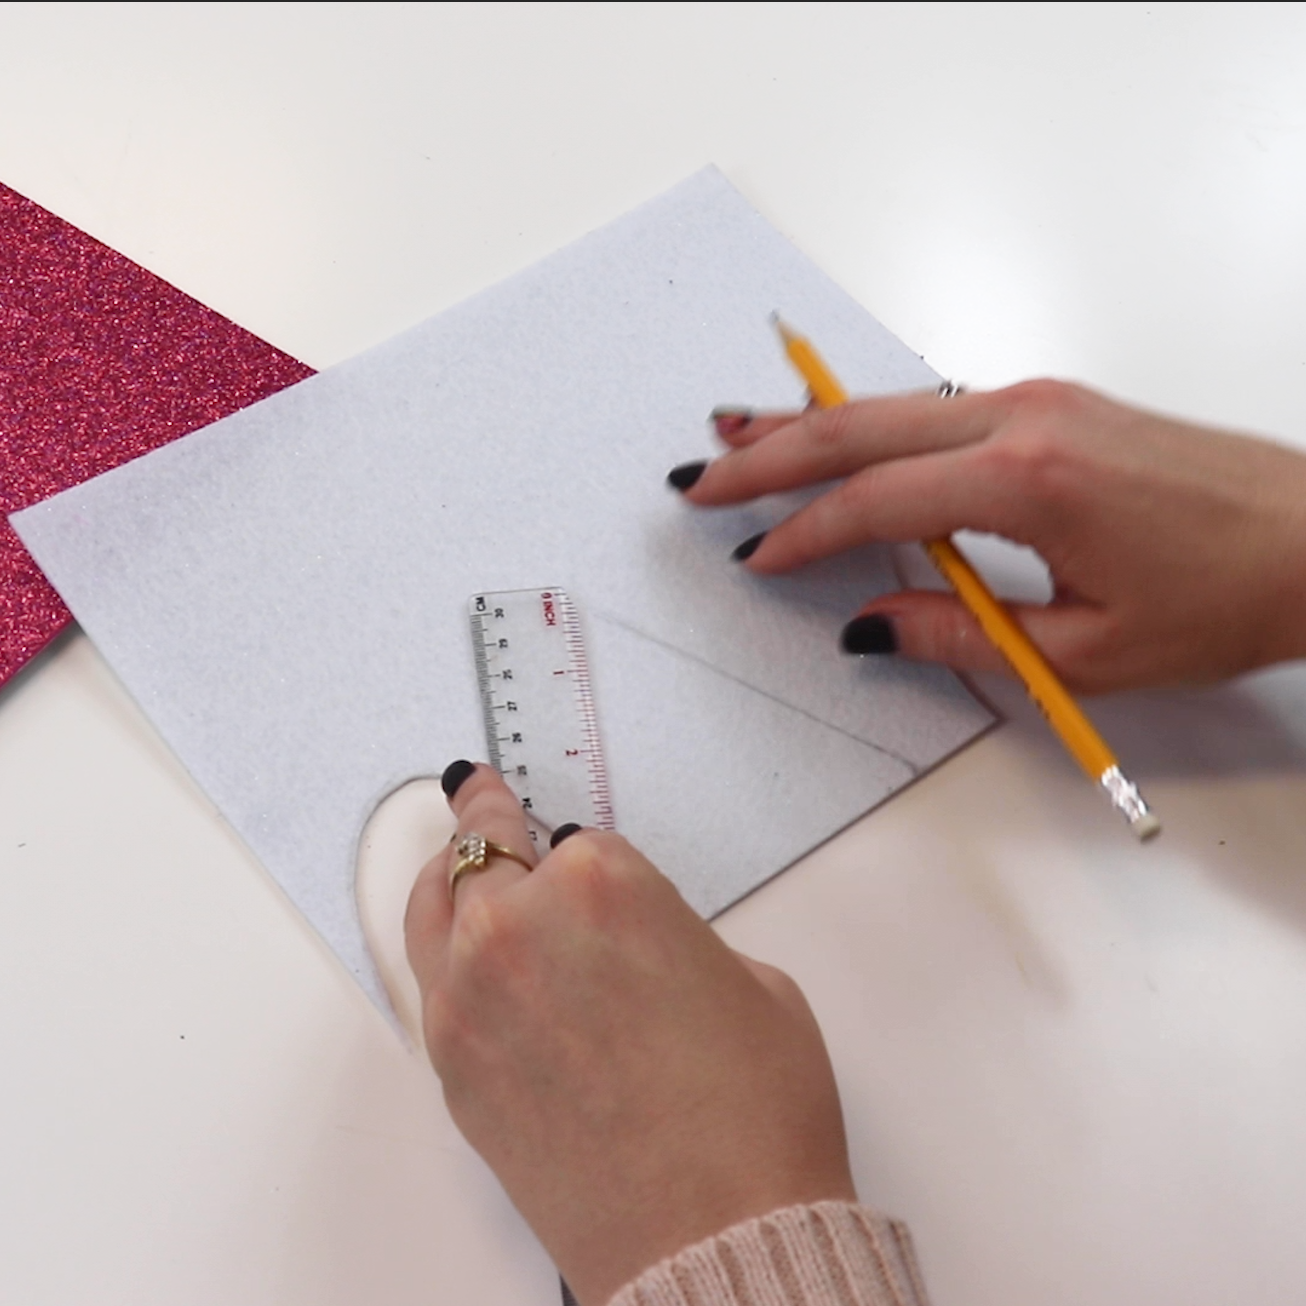
Now it’s time to make your unicorn’s horn. The bottom of your triangle should be 3” wide. Measure 4” on one of the corners and use your ruler as a straight edge to create the trangle’s edges.
Step 5:
Use another color (we used pink) for the inner ear. This time, we’ll mark the edge at 1.5”. Repeat the process used in step 1-3 to create your inner ear pieces.
Step 6:

Glue your inner piece to the top of your outer ear piece (Glitter sides facing you, if applicable). Make sure the bottom edges of the ears are aligned.
Step 7:
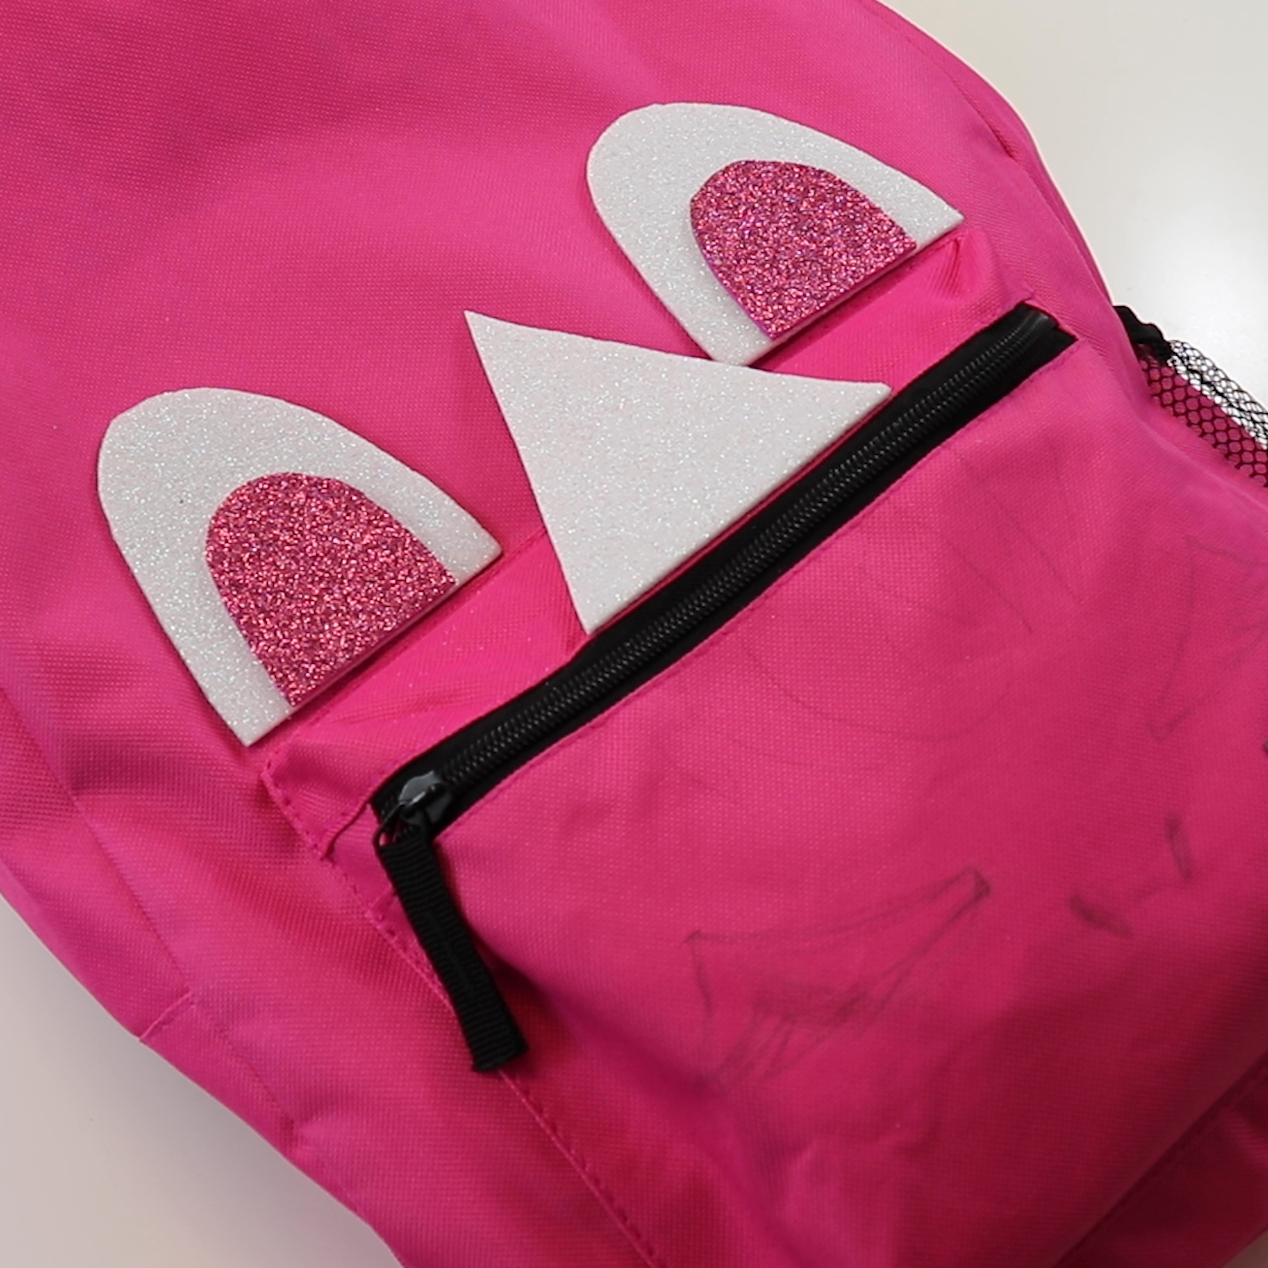
Lightly draw out your unicorn’s face design on the front pocket of your backpack. Next, layout where you will glue your ears and horn and carefully glue each piece to the backpack.
Step 8:
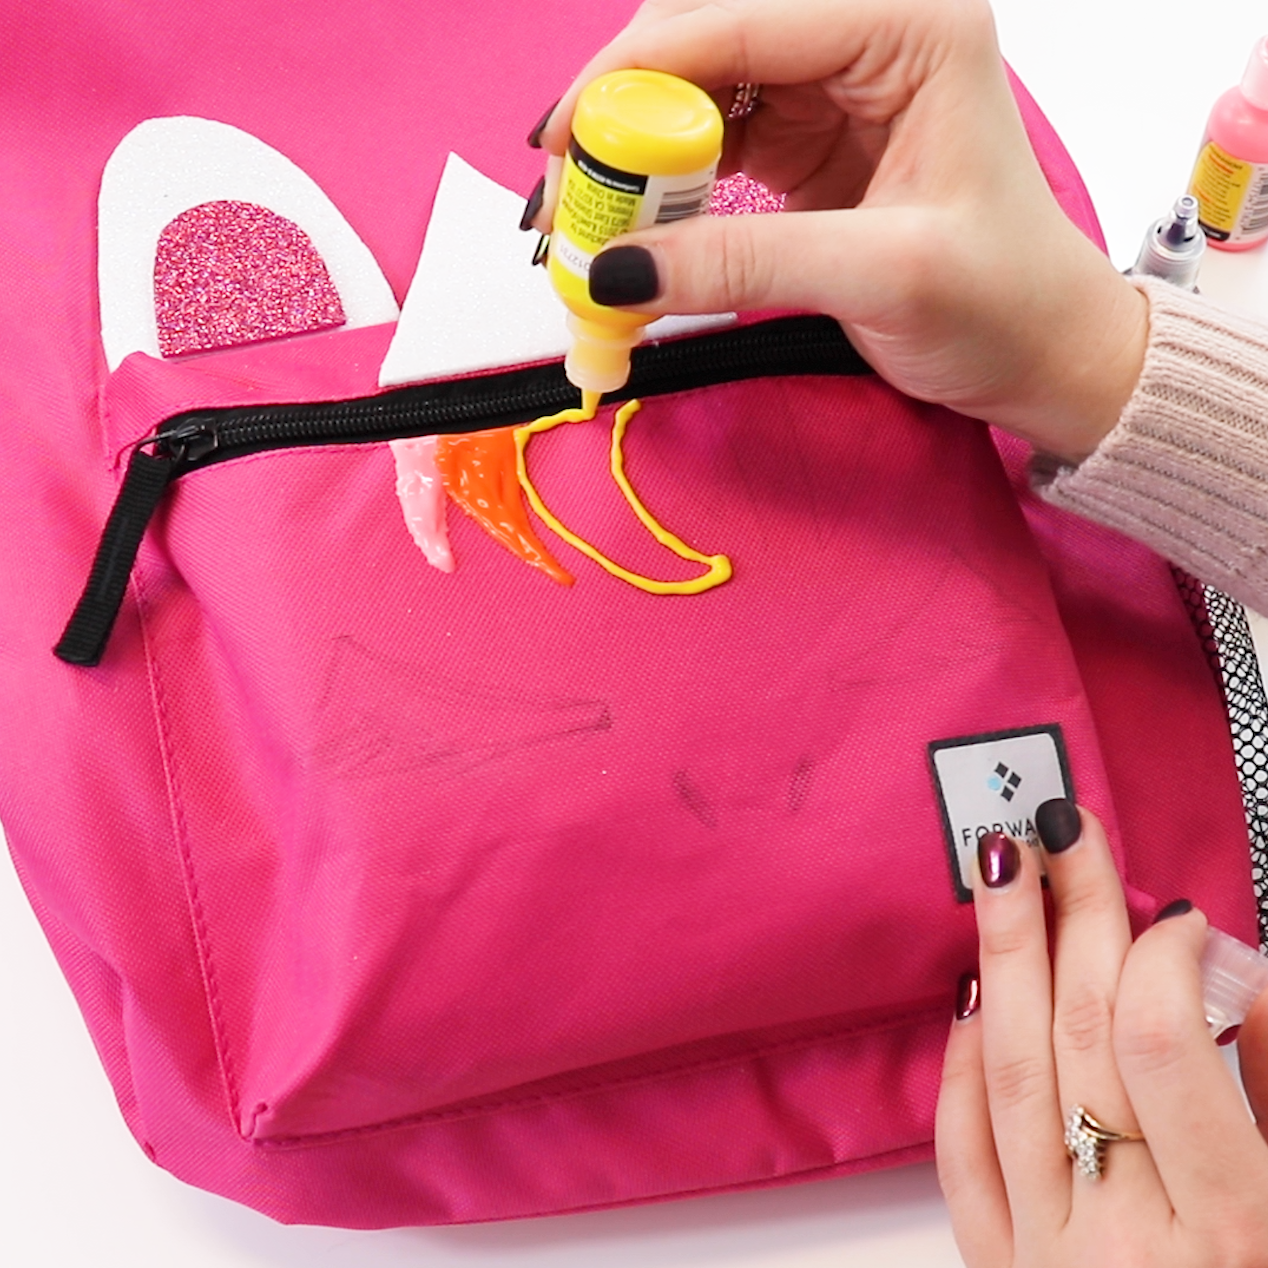
Now it’s time to paint!
Step 9:

Allow your masterpiece to dry for 24-48 hours before moving on to the next step.
Step 10:

Glue on felt/foam cut outs to decorate your bag.

We’d love to see how yours turned out! #DollarDaysDIY for a chance to be featured on our next blog!