If you are looking for an easy and inexpensive way to show teachers you care this holiday season, your craft search is over! These crayon wreaths are cute, customizable, and the perfect addition to any classroom. With our bulk offerings, you’ll be able to make a wreath for all your favorite teachers this year. Keep scrolling to find out how you can make your own today!
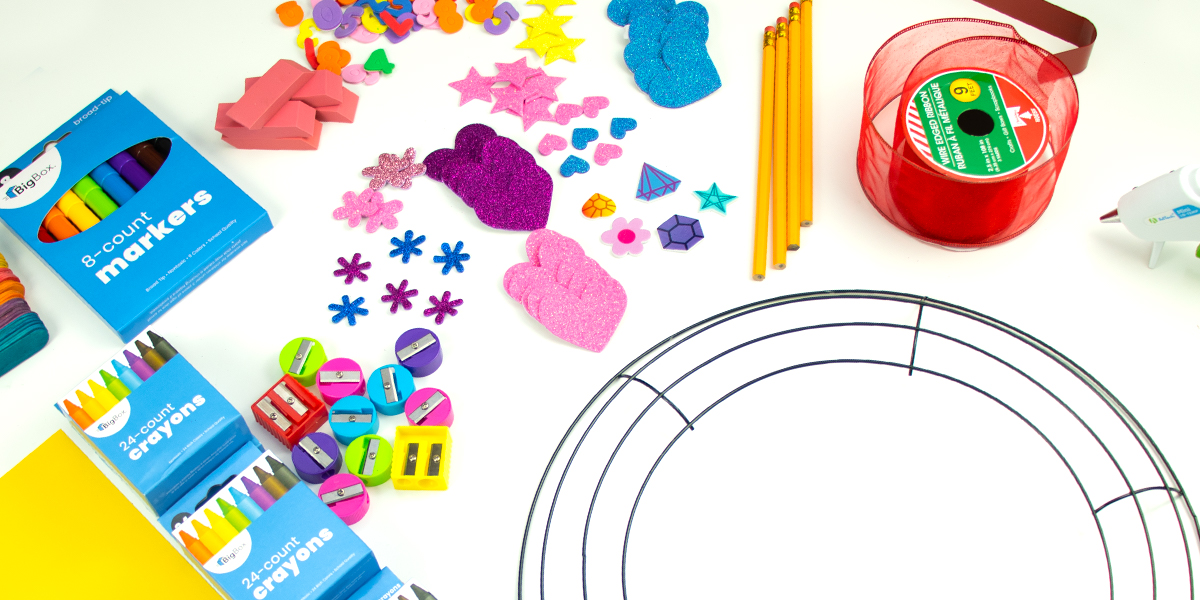
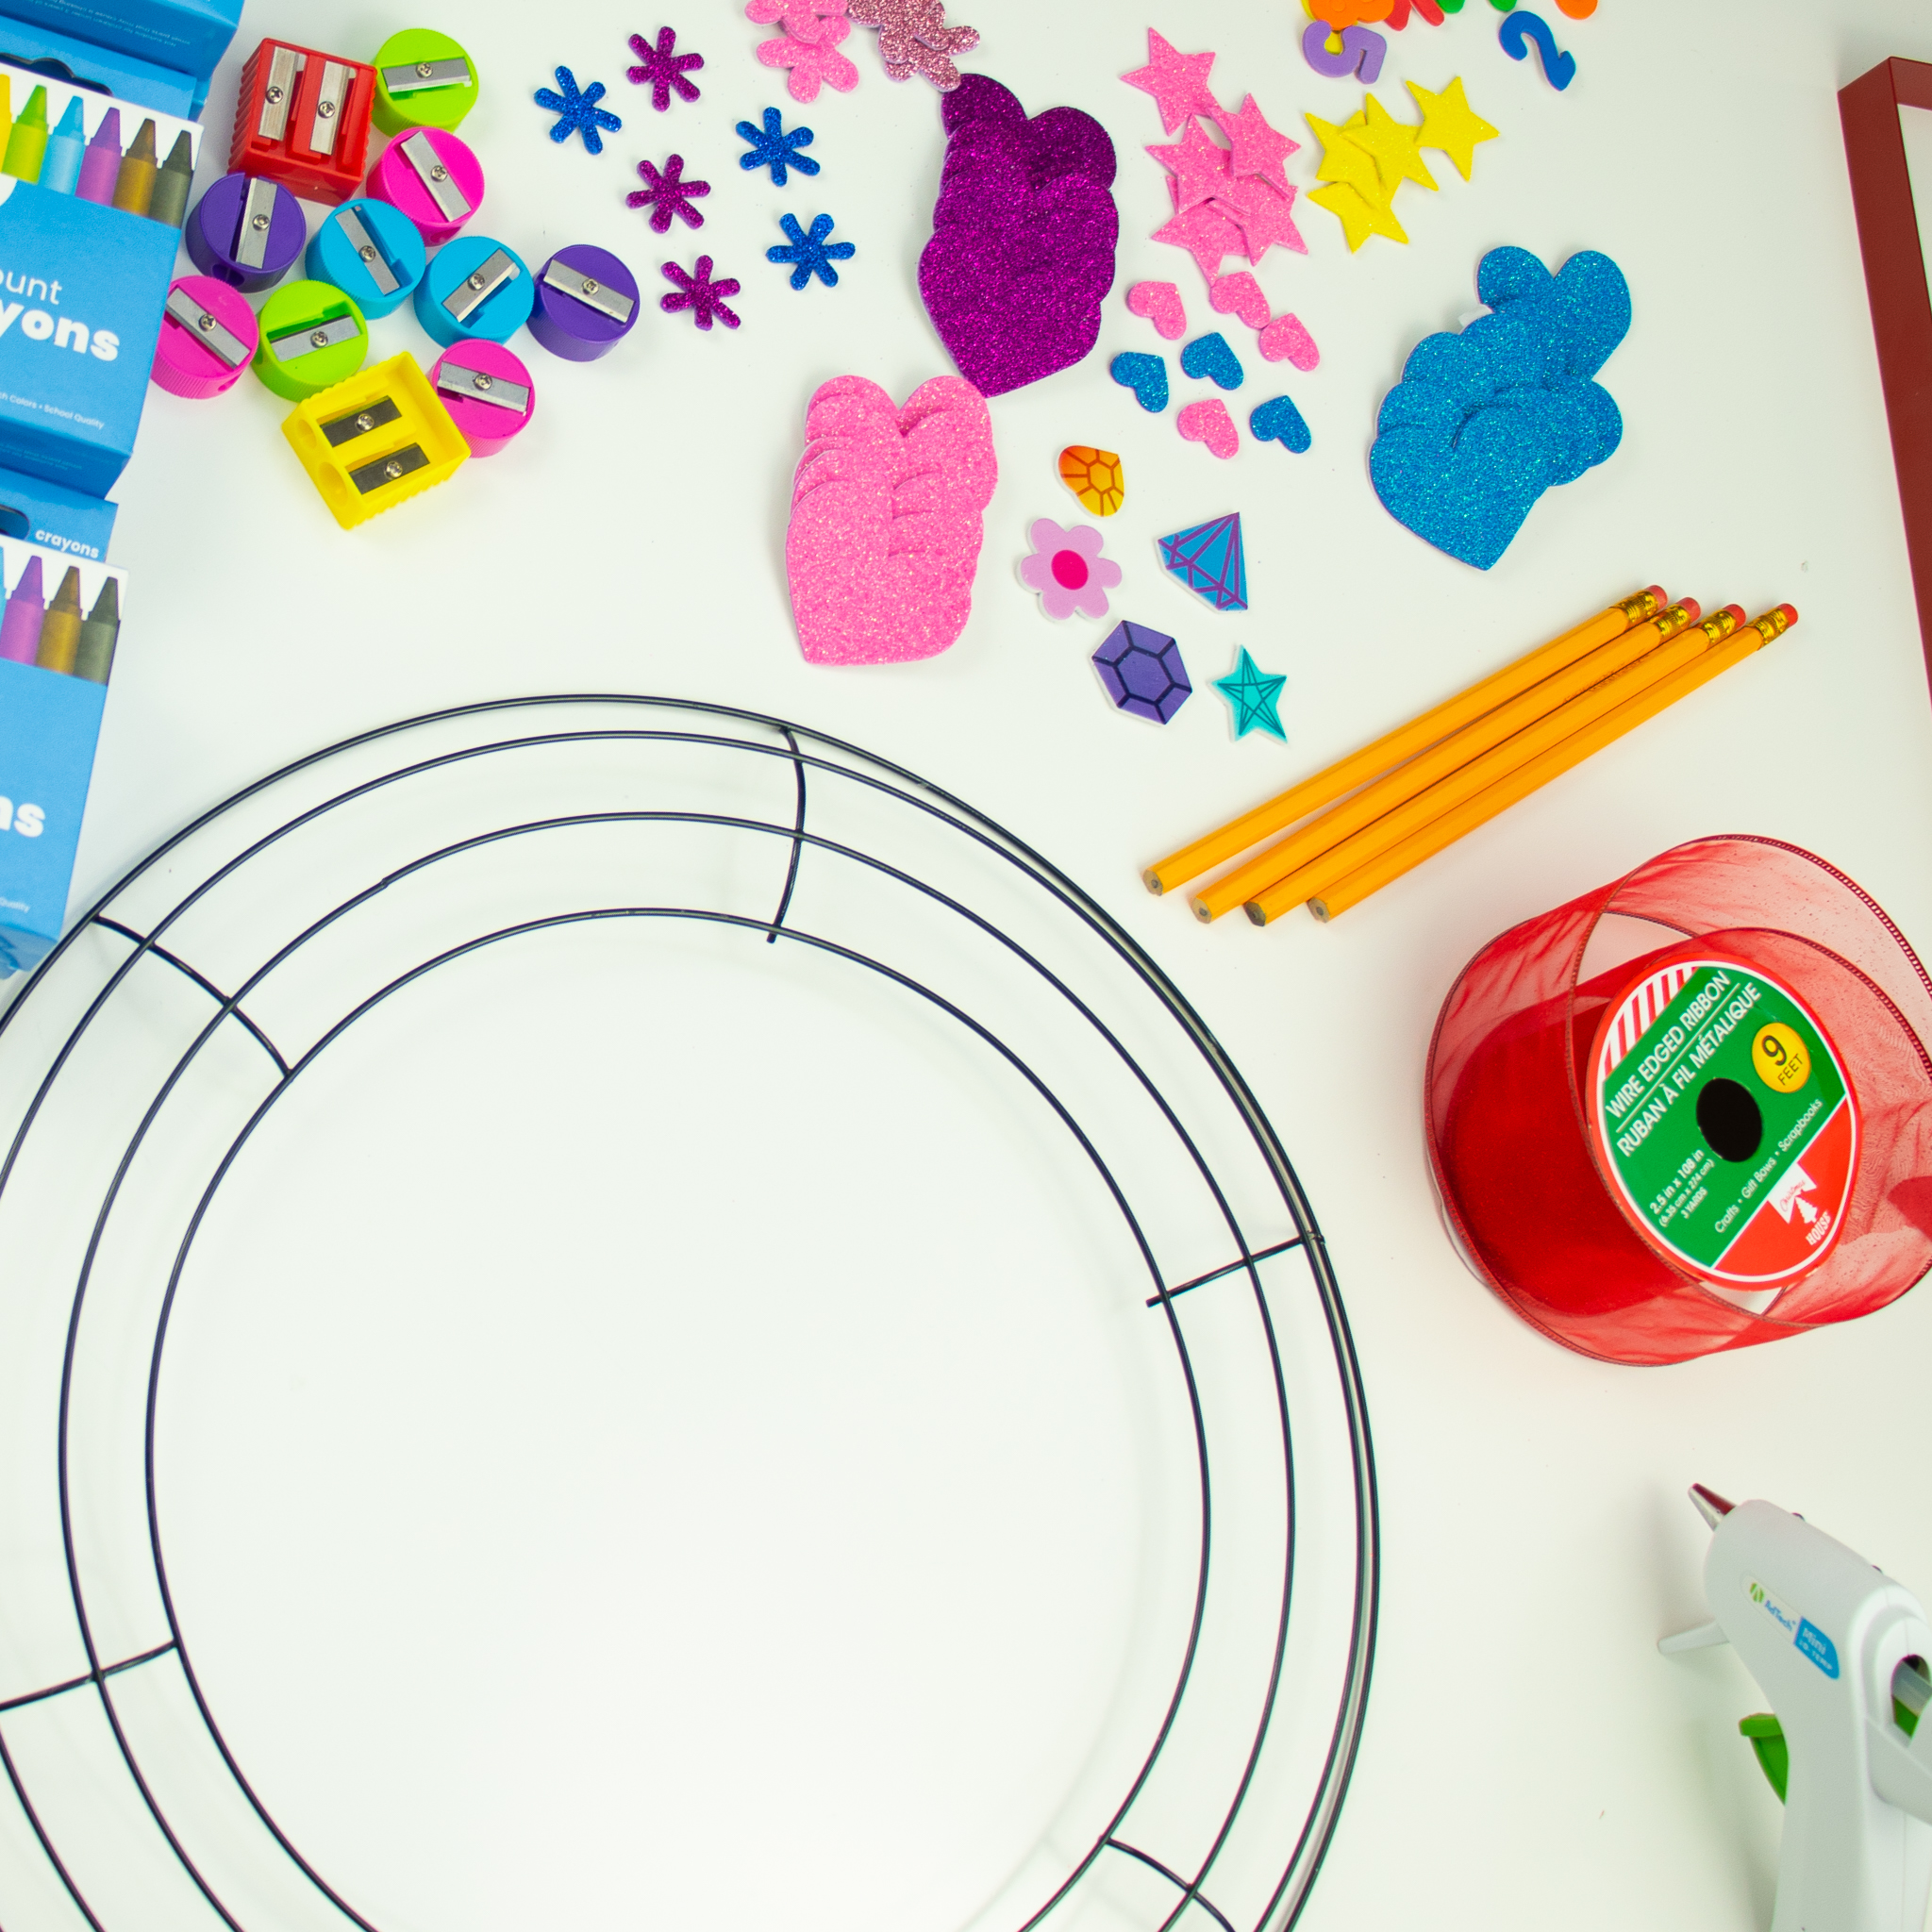
Materials Needed:
Step 1:
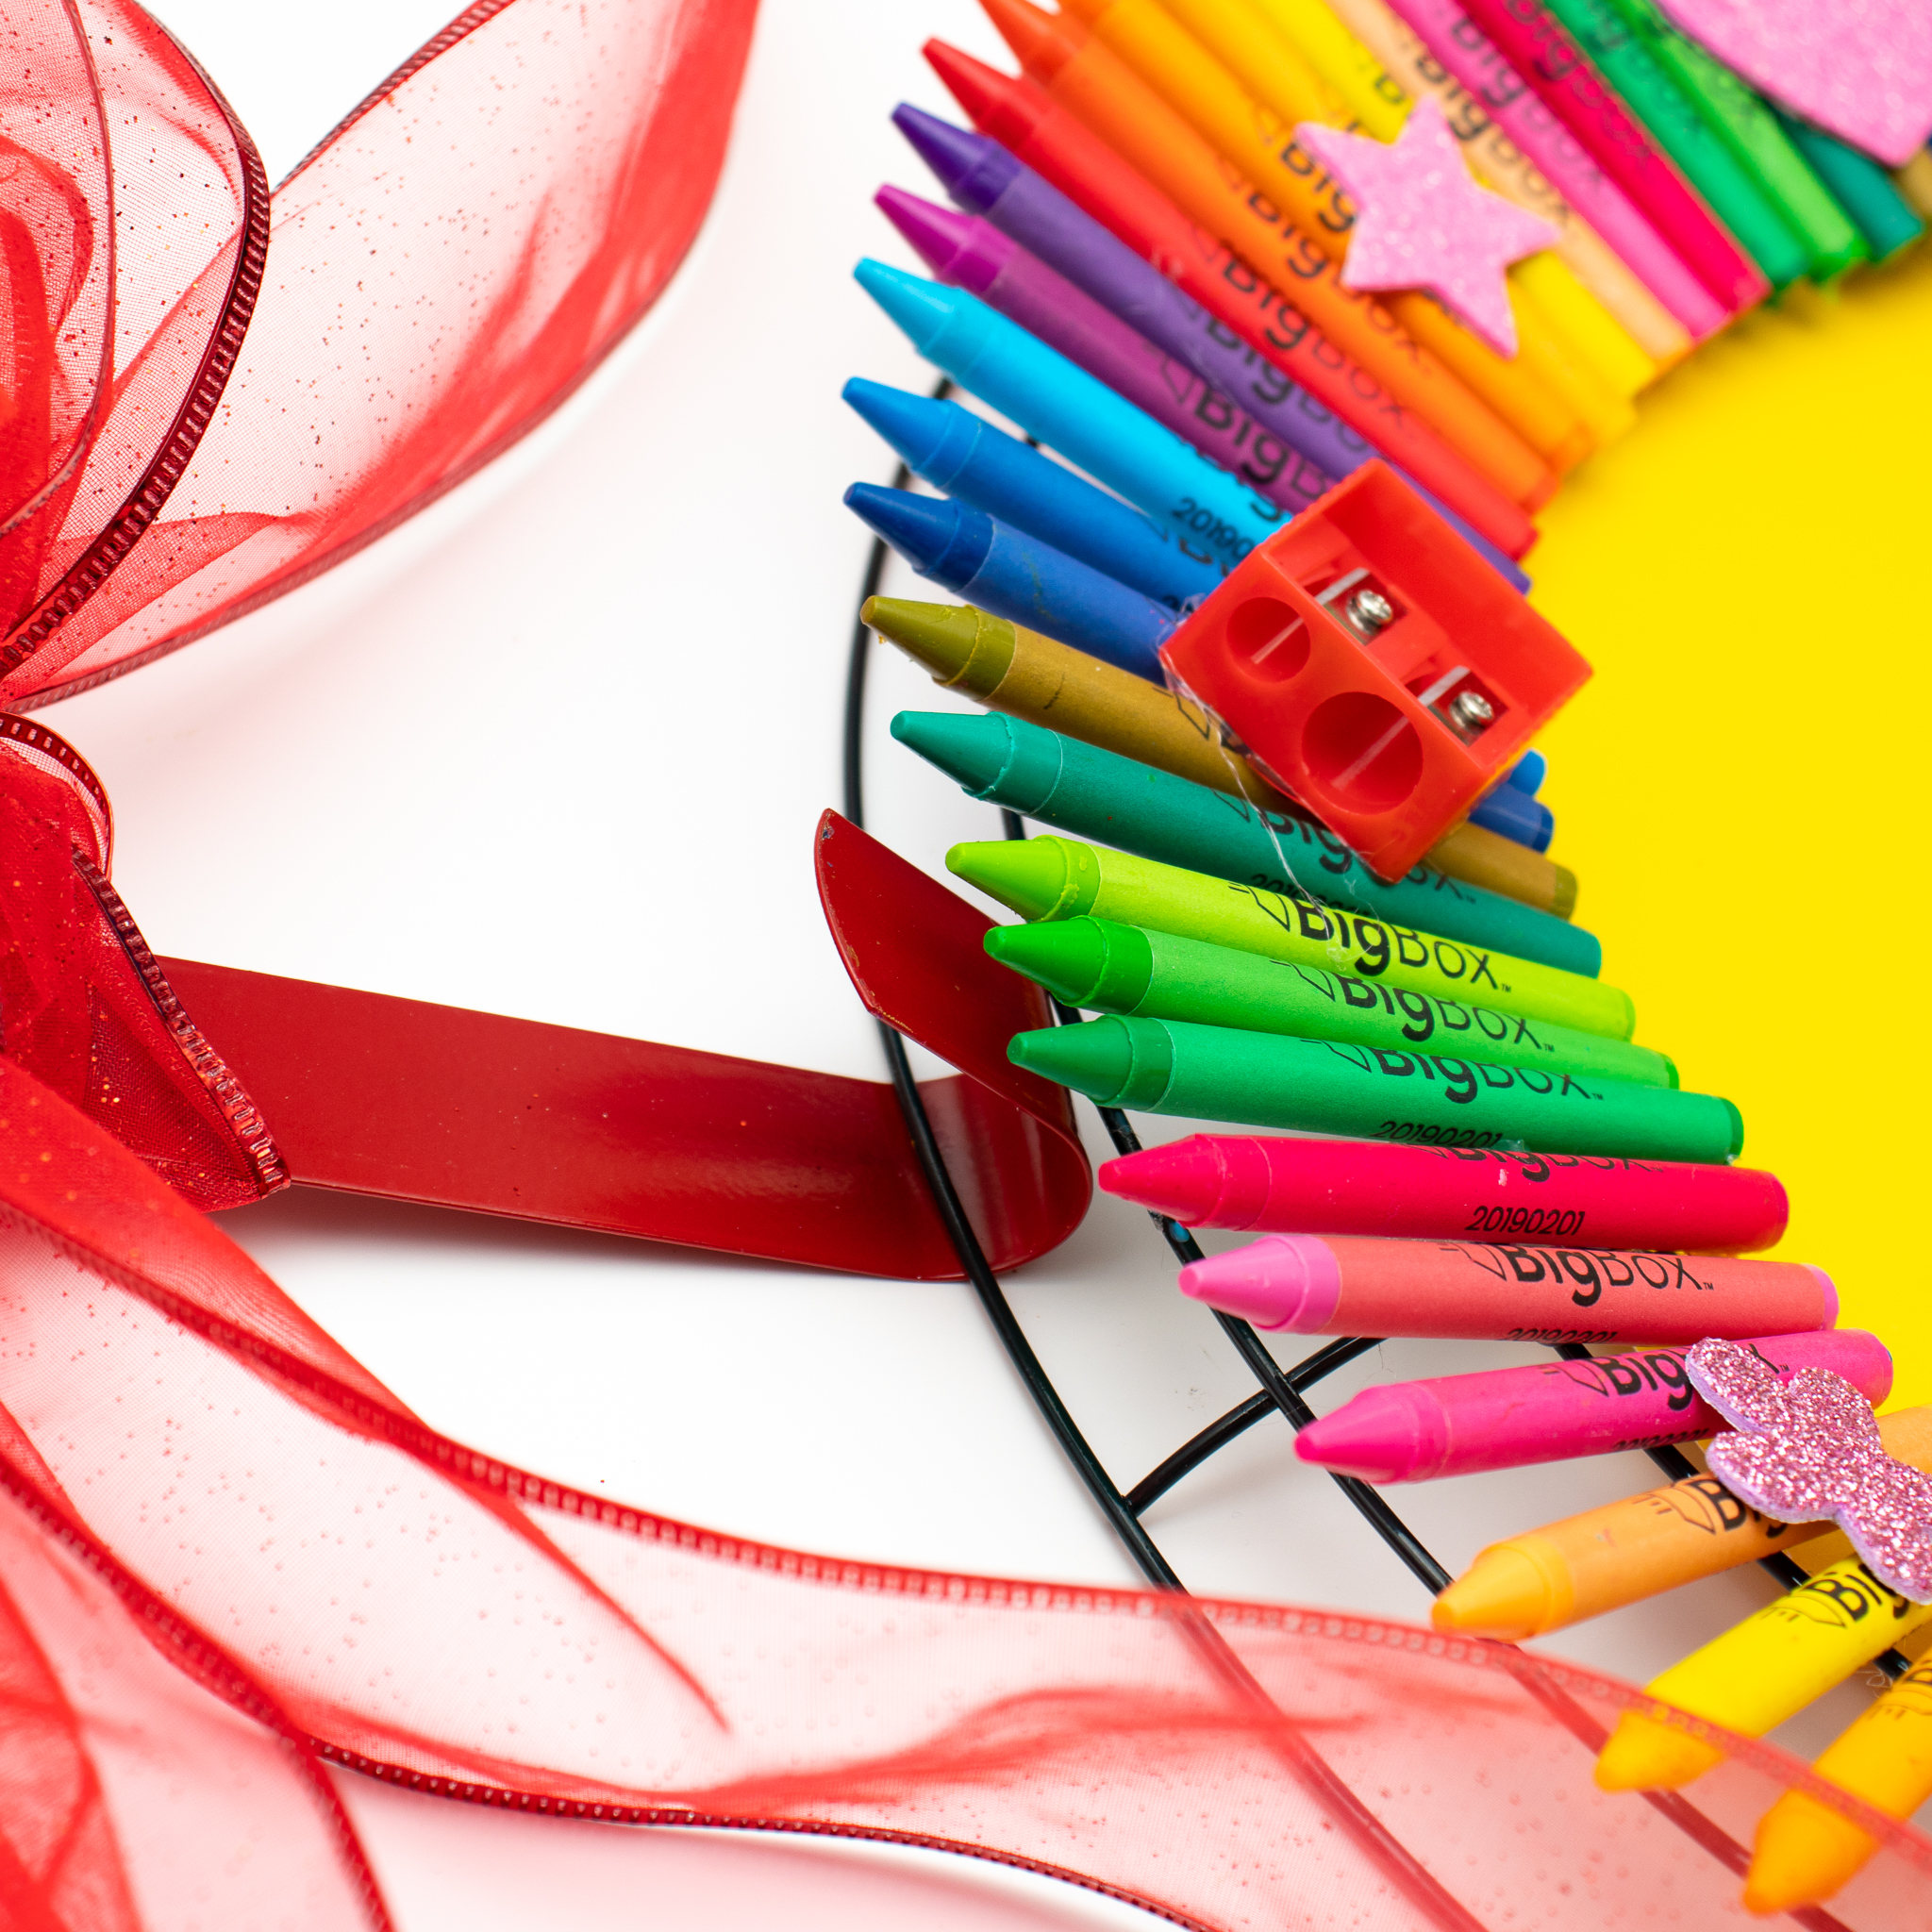
Begin by gathering your materials and heating your glue gun. We recommend sorting the crayons in the color order you’d like them to be displayed on the wreath.
Step 2:
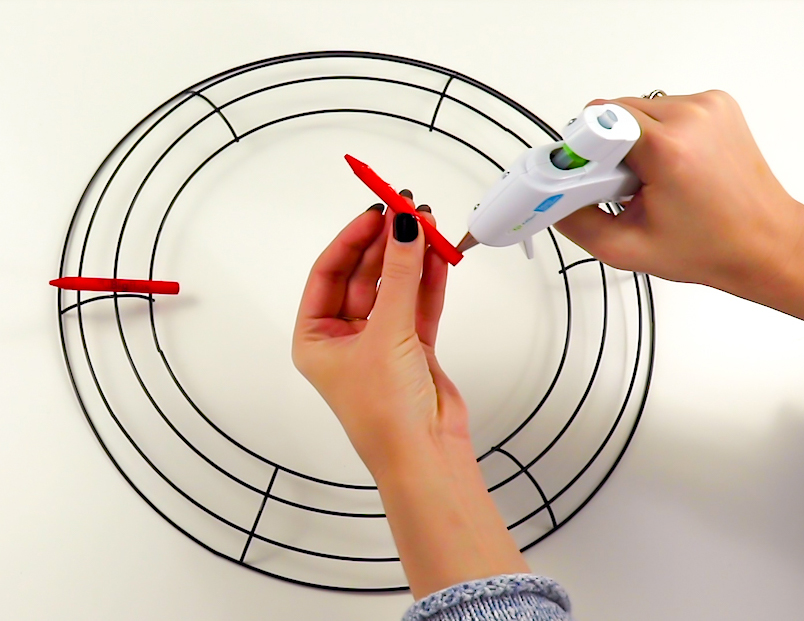
Using your wreath form, trace a circle on your paper to cut. Make sure the circle is bigger than the middle of your wreath – you will glue this to the back of your wreath form later. Feel free to add a message in the middle of the cut-out circle!

Step 3:
Begin gluing your crayons to the innermost (smallest) ring of the wreath form – be sure your wreath form is facing down so that the outermost ring is touching the table and the rest of wreath curves outwards.
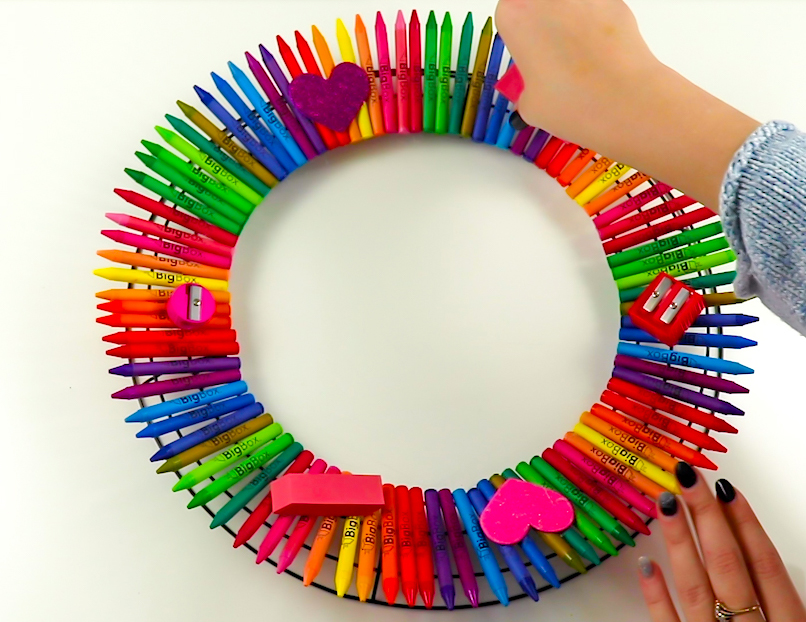
Step 4:
It’ time to decorate! Glue your decorations to the crayons and feel free to get as creative as you want with this.
Step 5:
Once you’ve finished gluing your crayons and decorations, carefully flip your wreath over and glue the paper to the back of the innermost circle of the wreath form.

Step 6:
Attach your wreath hanger to the top and add a cute ribbon if desired.
The end result is super fun and festive – we just love how this crayon wreath turned out! Do you have fun ideas for classroom or teacher crafts? Be sure to tag us on Instagram using the hashtag #DollarDaysDIY for a chance to be featured!

